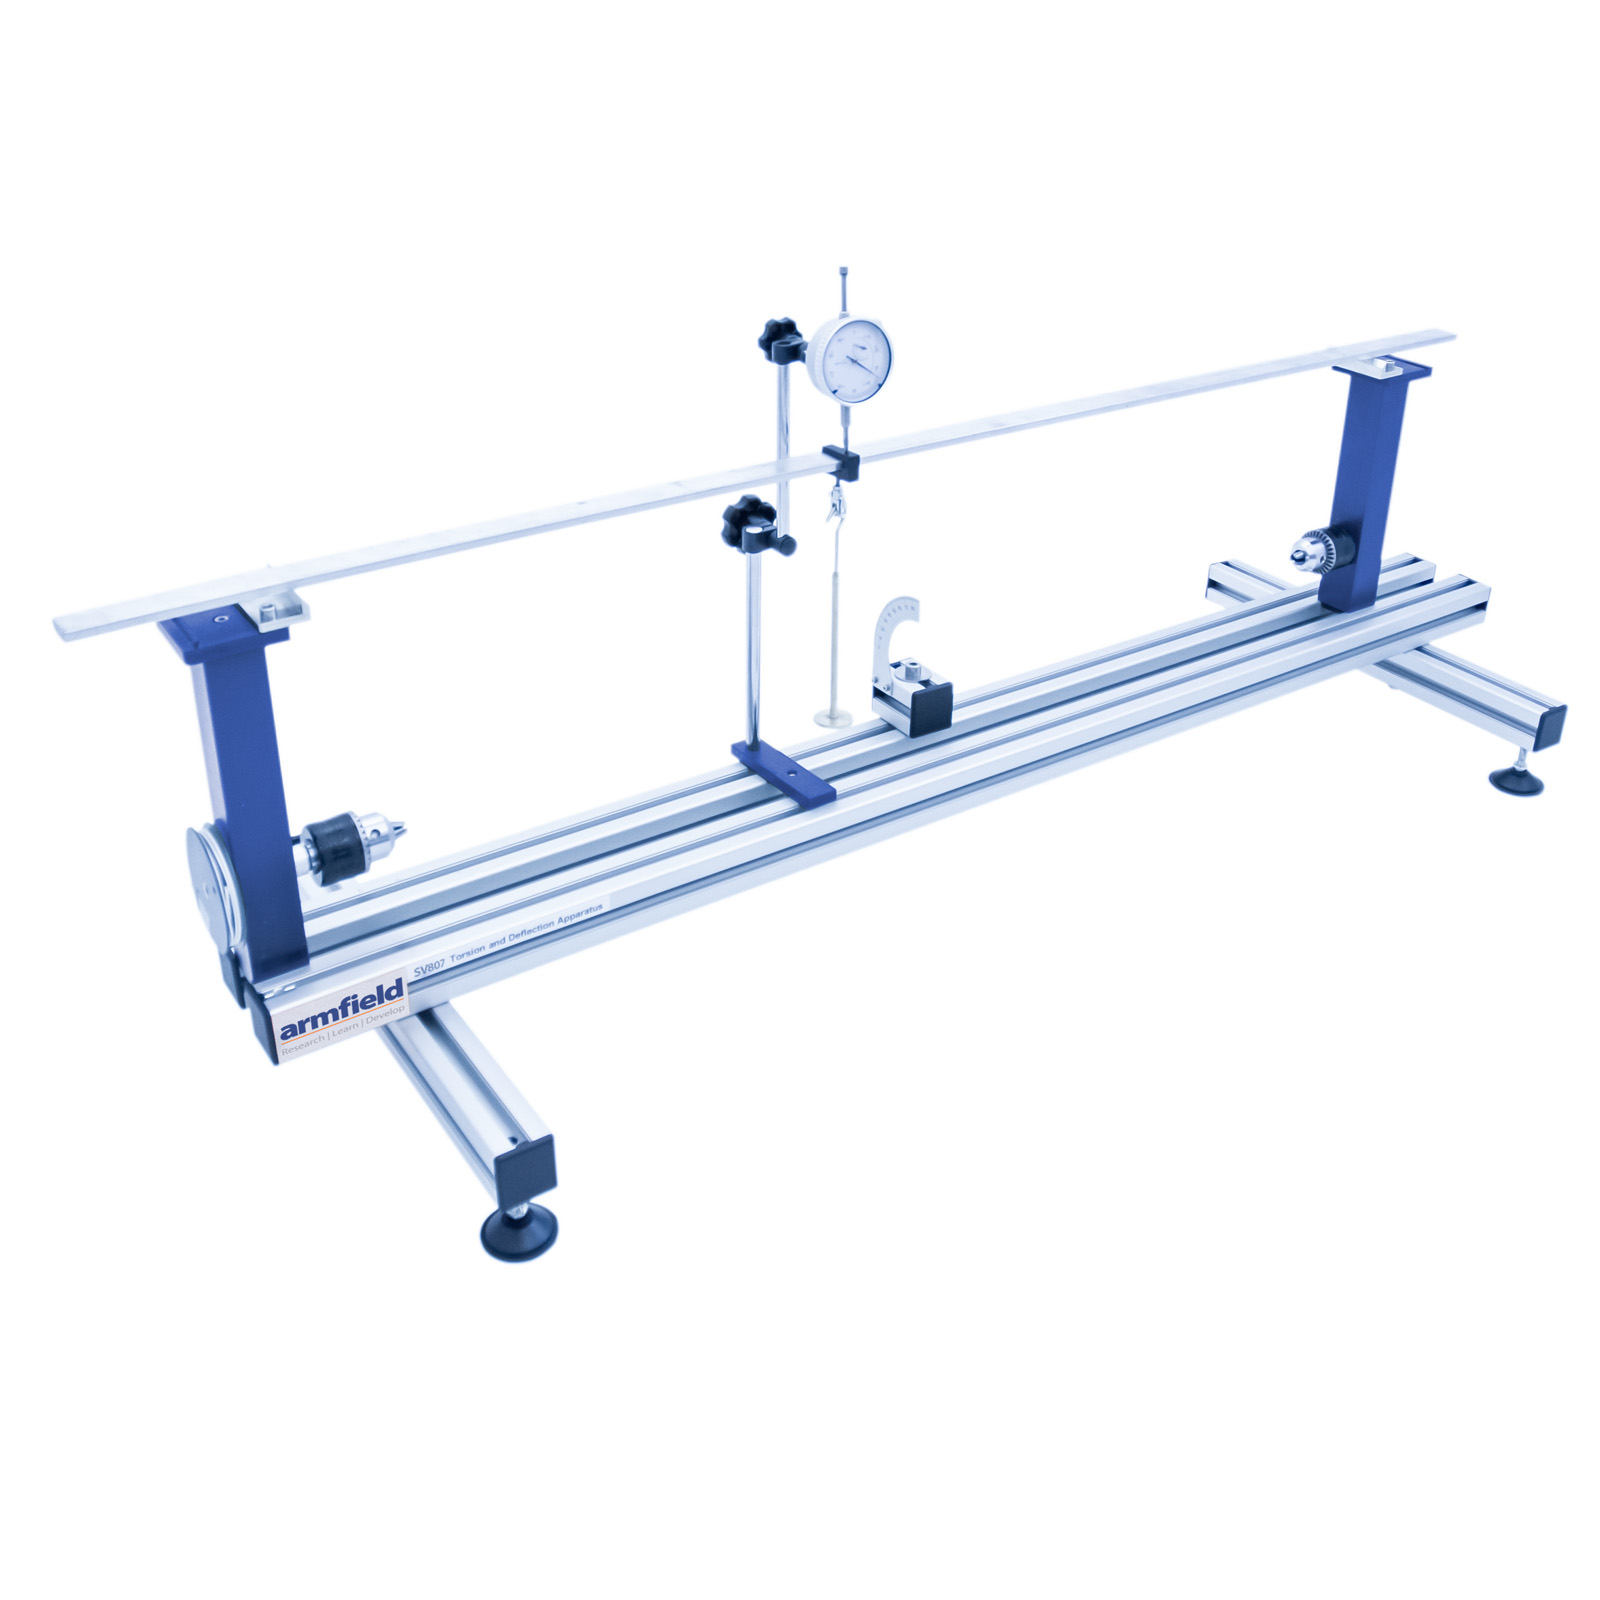
Torsion & Deflection Testing Apparatus
20 เมษายน 2566
ผู้ชม 543 ผู้ชม
DESCRIPTION
This benchtop unit allows a variety of experiments to be undertaken to investigate test specimens under torsional loading and bending loading within their elastic limits. An extruded base frame carries two solid vertical supports. Profiled grooves within the base frame, fasteners and quick release handles ensure quick and easy adjustment of the span between the vertical supports.
One vertical support carries a unique specimen chuck with a through hole. Another chuck is held stationary at one end of the base frame. The chucks have two functions; to secure the torsion specimens during testing and to transmit the torsional loading to the torsion specimen. The torsional load is transmitted using a pulley and cord arrangement, with the pulley being mounted to a shaft running in bearings.
The bearings minimise the friction in the system. The chuck installed into the vertical support has a through hole to allow the length of the torsion specimen to be varied.
The twist of the torsion specimens is indicated on an angle indicator and pointer, which can be moved along the test specimen. The remaining vertical support is used for bending tests.
Each vertical support has a top clamp provided.
This allows the end support arrangement for the bending specimens to be varied, i.e. clamped, simply supported on knife edges or on ground dowels. The supports can be moved along the base frame thus changing the beam span.
To measure the bending specimen deflection a dial gauge is fixed onto a movable stand and can be positioned anywhere within the beam span. A set of torsion and bending specimens are supplied. A load hanger and set of calibrated weights create specimen loading.
EXPERIMENTAL CONTENT
- Deflection of specimen as a function of loading force, material, Young’s Modulus of Elasticity (E), cross section and support span
- Comparison of bending stiffness of varying specimen sections for the same cross sectional area
- Comparison of cantilever beams, simply supported beams
- Determination of Young’s Modulus of Elasticity (E) in shear for the different material specimens
- Introducing Poisson’s Ratio
- Torsion angle and clamping length relationship
- Torsion angle and torsion moment relationship
- Torsion angle and specimen cross section
- Modulus of rigidity introduction
TECHNICAL SPECIFICATIONS
- Torsion specimens: Ø5.00 ± 0.5mm x 470mm long, steel, aluminium, brass and nylon
- Bending specimens: 1200mm long, steel, aluminium and brass
- Bending specimens:
- 25.4mm (W) x 3.18mm (H)
- 25.4mm (W) x 4.76mm (H)
- 25.4mm (W) x 6.35mm (H)
- 19.05mm (W) x 3.18mm (H)
- 2 x Load hangers
- 1 x Dial gauge: 25mm travel, 0.01mm resolution, with precision anvil
- 1 x Movable stand for dial gauge
- 1 x Tape measure
- 2 x Clamp plates for cantilevers
- 2 x Pointer and protractor
- Knife edge and ground dowels for simply supported beam
- Torsion shaft running in bearings
FEATURES & BENEFITS
- Demonstrates torsion and bending
- Cantilevers can be tested
- Specimen bending, deflection
- Specimen torsion
- Angle of twist along specimen length
- Customer specific specimens can be used
- Three bending specimens
- Four torsional specimens
- Full set of weights and hangers supplied


